Mastering High-Quality YouTube Video Tutorials: A Journey
Wednesday, July 5, 2023
As we step into 2023, the way I’ve been creating video tutorials for YouTube needs a fresh approach. I’ve been using Screenflow for years, and while it’s served me well, I’ve started to feel the desire for something that offers more customization, reliability, an expanded range of features, and yes, even a new challenge to conquer.
So, allow me to share a brief snapshot of the work I’ve been doing to transform how I create my YouTube tutorials.
Step 1: Laying the Groundwork
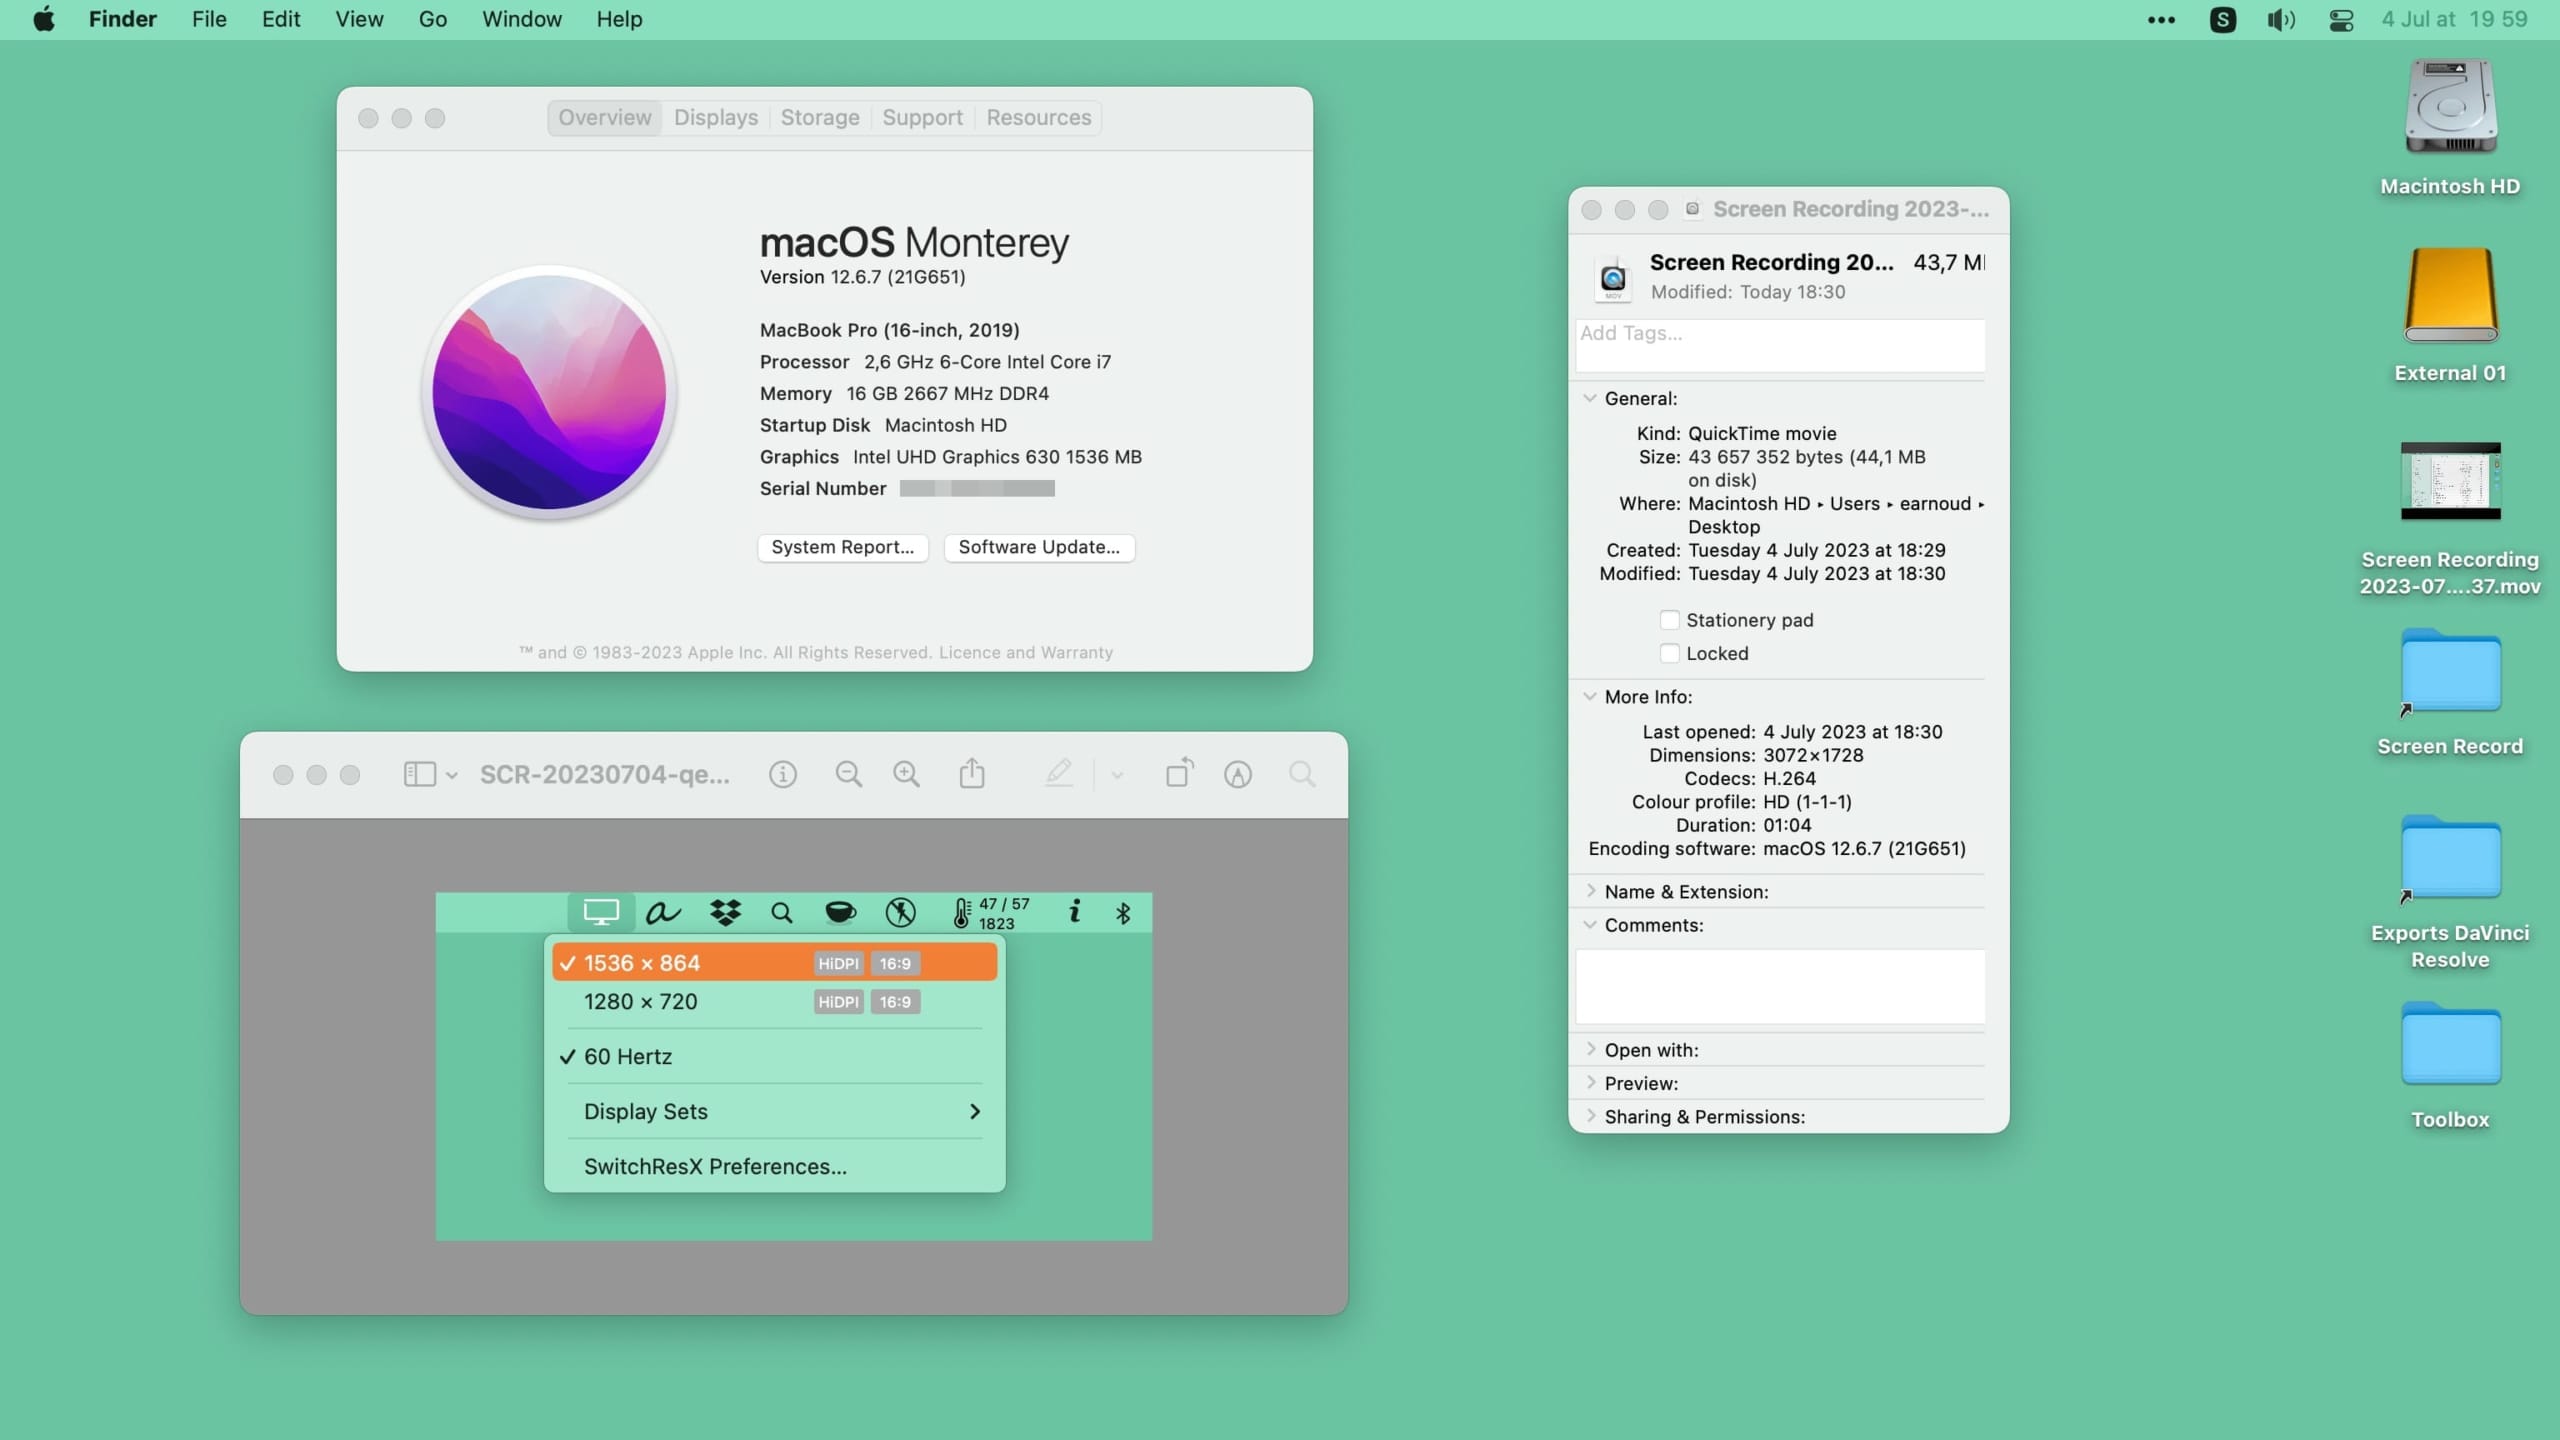
The adventure begins with my trusty 2019 MacBook Pro 16 running MacOS Monterey 12.6.7. Its high resolution is pivotal for crafting quality videos at lower resolutions or when executing zooms without compromising the video quality.
The Rationale Behind This …
Recording your screen at the highest possible resolution is integral to creating high-quality video content, even when your target output is just simple HD resolution.
The reason behind this lies in the flexibility and control it offers in post-production. When you record at a higher resolution, you capture more detail. This additional detail proves useful when you’re editing, as you retain the ability to crop, zoom, and focus on smaller areas of the screen while maintaining excellent video quality.
For example, if you want to zoom into a specific part of your screen during editing, the video quality won’t suffer, and the final video will still be at a crisp HD resolution due to the originally high-resolution recording.
Essentially, by initially recording at the highest possible resolution, you’re future-proofing your content. Even if your immediate requirement is simple HD, the high-resolution raw file makes your content more versatile for various viewing formats and ensures pole position for any future needs for higher resolution versions.
Step 2: Addressing Resolution Limitations
I soon encounter a common obstacle for content creators using a Mac —the MacBook’s default 16:10 display resolutions.
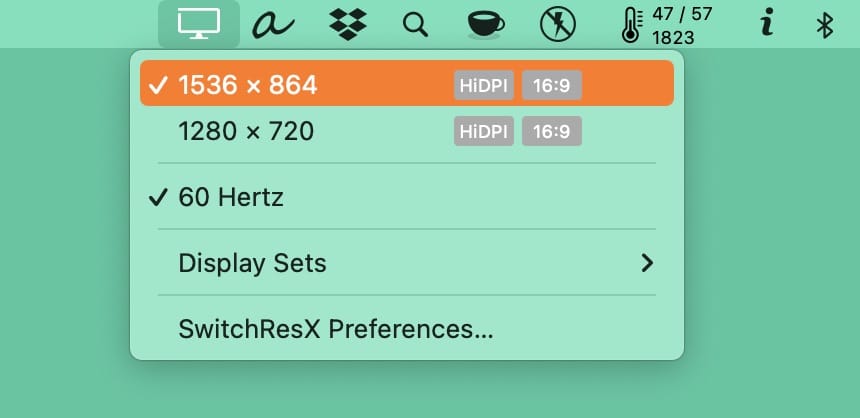
For my YouTube videos, I aim for a 16:9 aspect ratio, the standard for YouTube video content. This brings me to SwitchResx, a utility I’ve installed on my system.
Here, I find the answer in a custom resolution of 1536×864 HiDPI, which doubles the effective resolution to a much more suited 3072×1728. This selection dramatically enhances the final visual quality, making it perfect for YouTube’s more preferred 16:9 ratio.
The Rationale Behind This …
Recording your screen with a 16:9 ratio on a 2019 MacBook Pro, and even newer models, can be quite challenging. There’s a technical reason behind this: the MacBook Pro has a native aspect ratio of 16:10.
This aspect ratio makes the macOS interface more balanced and aesthetically pleasing. It allows for more vertical space which makes it perfect for browsing and productivity tasks.
However, when it comes to recording screen content intended for platforms like YouTube, which prefer a 16:9 aspect ratio, it can be problematic. If you were to record your full screen, you would inherently end up with black bars on the top and bottom of your video when viewed on YouTube in order to maintain the original aspect ratio.
Adjusting the window size of individual programs to mimic a 16:9 target frame can be a cumbersome workaround, not to mention the potential issue of inconsistent sizing between recording sessions.
That’s why utilities like SwitchResX or Better Display Pro become very handy because they allow you to create custom resolutions that align with your content creation needs.
Step 3: Journey towards Smooth Recording
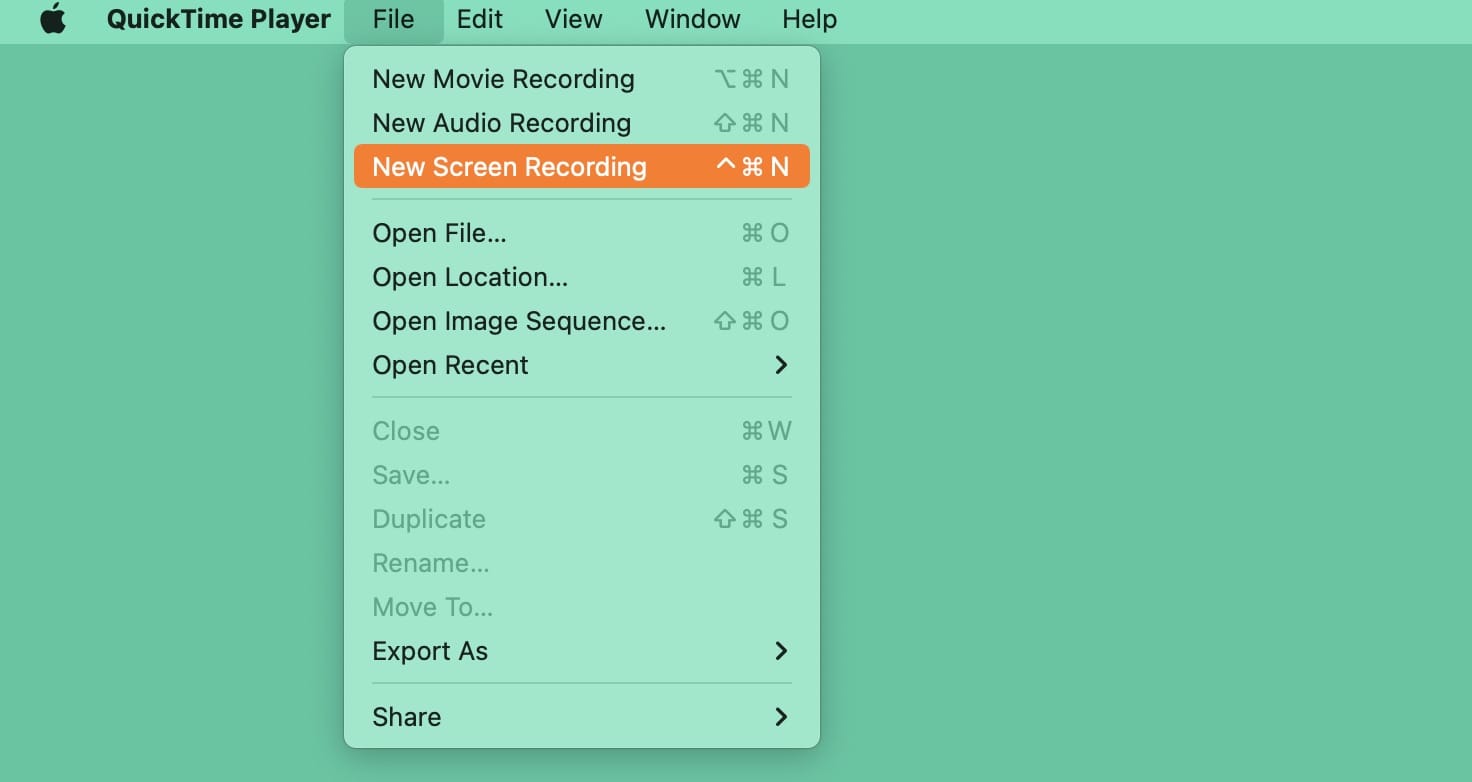
Equipped with QuickTime on my MacBook, I can record my screen at a smooth 60FPS—proven to be a superior choice over other recording tools in offering a seamless recording experience.
The Rationale Behind This …
QuickTime, the built-in multimedia framework on your Mac, is a remarkable tool when it comes to recording screencasts.
One clear advantage is its availability – being a native application, you need not worry about downloading additional software or potential compatibility issues; QuickTime is there when you need it.
Another feather in its cap is cost-effectiveness. QuickTime is free to use, making it not just a powerful, but also a budget-friendly option for everyone. This ensures you have access to a quality tool without any extra financial burden that typically comes with professional-grade software.
What sets QuickTime apart is its perfect blend of simplicity and quality. The interface of QuickTime is straightforward and user-friendly, making screen recording a breeze even for novices.
Despite its simplicity, it does not compromise on quality; the tool can capture high-definition screencasts at up to 60 frames per second. This ensures your videos have smoother visuals, which is particularly important for dynamic content.
Furthermore, QuickTime does not limit you to just screen recording. It also equips you with the ability to record both internal and external audio. Whether it’s the click of your mouse, system alerts, or your own voice narrative, QuickTime ensures none of it is lost.
QuickTime also offers flexibility in how you record. You have the option to capture your entire screen or a specific part of it. Plus, you can choose to record audio simultaneously with your screen or add it later during editing.
Last but not least, QuickTime is reliable. As an Apple-developed product, it boasts seamless integration with macOS and an assurance of strong performance.
In essence, QuickTime is a robust, free, and versatile tool ready to help create your best screencasts on a Mac.
Step 4: Navigating the World of Video Editing
Once recording wraps up, it’s time for refinement.
This time, I use my secondary device, a recent Mac mini M2 running MacOS Ventura 13.4.1.
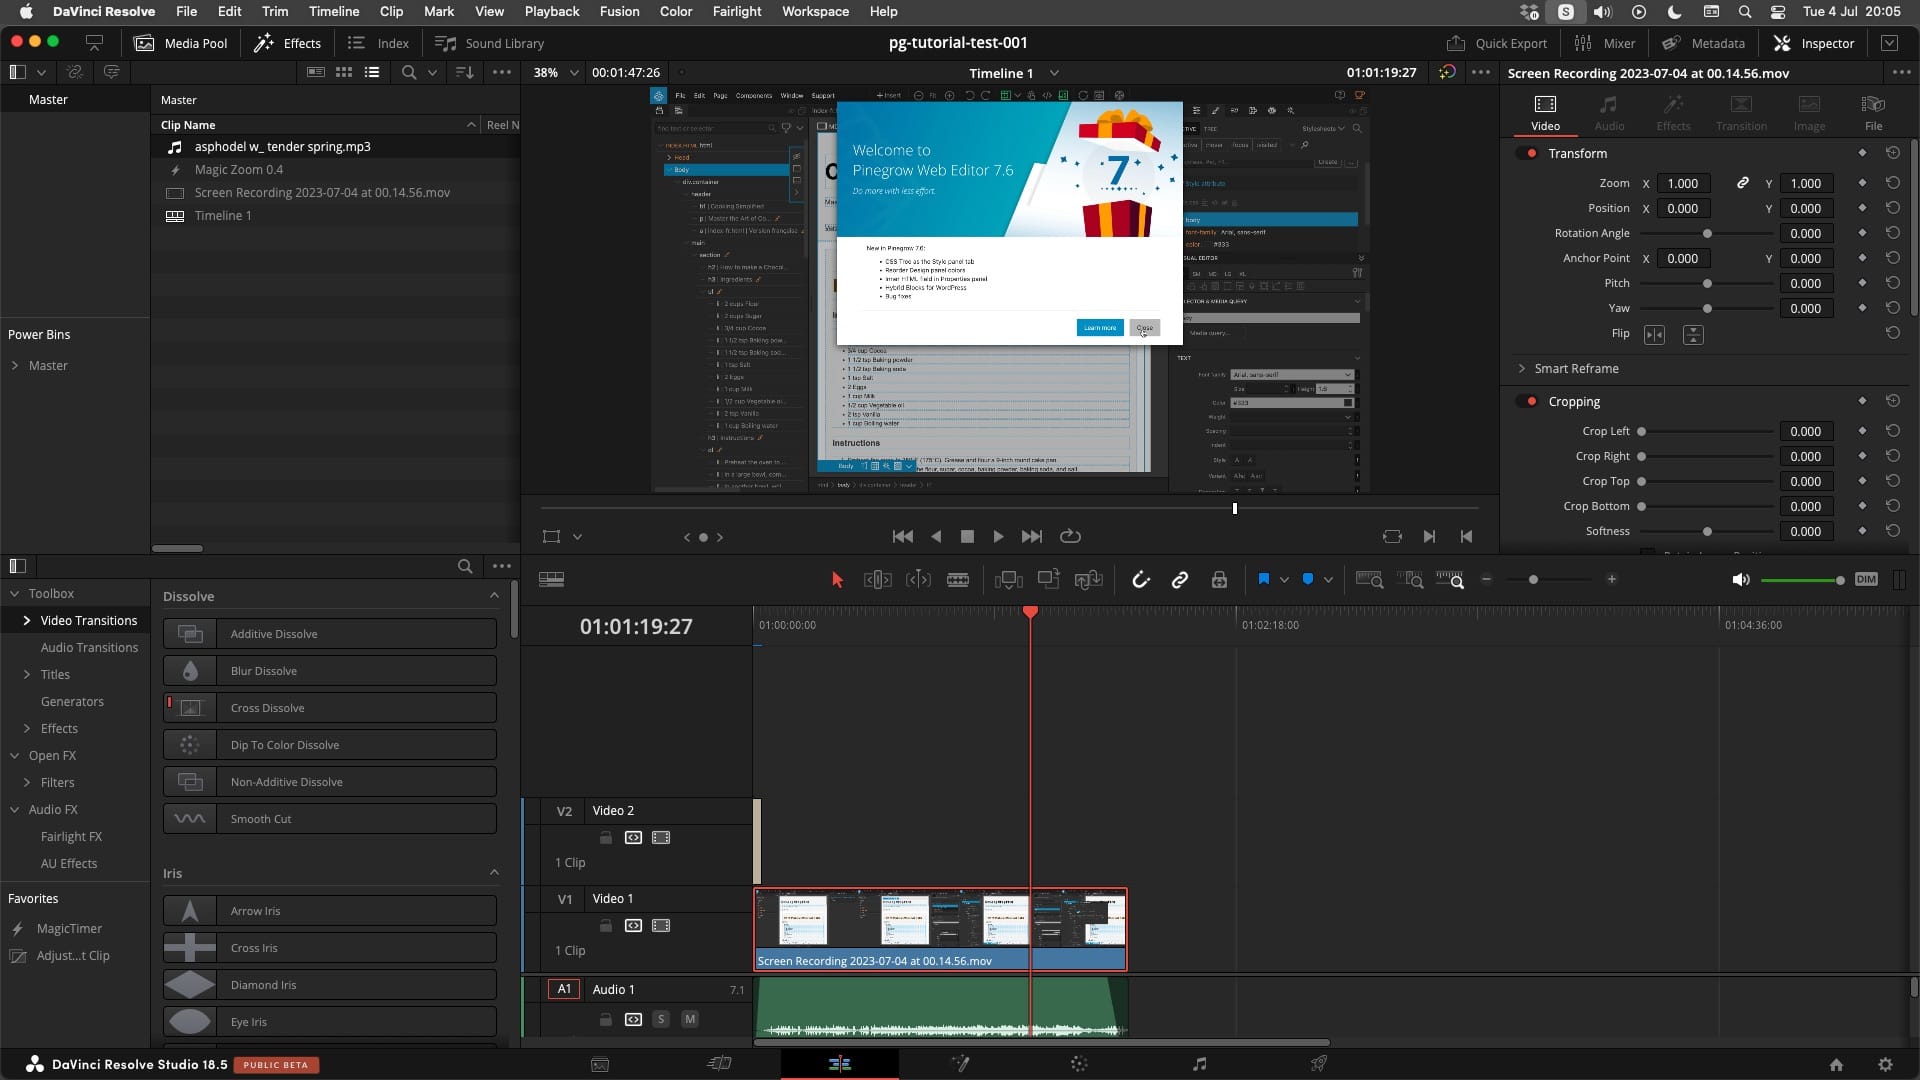
My editing journey begins with the awesome DaVinci Resolve Studio 18.5beta, which, even on my old external HD screen, assists me in carving out a perfect narrative on a 1920×1080 HD timeline.
The Rationale Behind This …
DaVinci Resolve stands as a formidable choice for editing screencast videos, attributed to its rich feature set and powerful capabilities. With its emergence from high-end color correction into full-fledged non-linear editing, DaVinci Resolve offers a combination of professional video editing tools and a user-friendly interface that’s difficult to rival.
Firstly, it is designed around a timeline-based workflow, which means editing a video is as intuitive as it gets. You can easily trim, cut, paste, and move clips around, giving you full control over your video content. Then there’s the scale of creative freedom – from fundamental editing and pacing to tweaking colors, DaVinci Resolve has got you covered. You can perfect the color grading to attain the exact mood or aesthetic you want for your video, or utilize Fusion, its integrated motion graphics section, to add special effects and titles.
DaVinci Resolve boasts a unique feature called Nodes. Instead of layer-based editing, nodes offer a more organized and efficient way to apply different video effects and filters. Not only does it lead to cleaner editing timelines, but it’s also great for system performance as it simplifies complex processing.
And one cannot overlook the flexibility it offers in audio editing. Its Fairlight workspace provides a comprehensive suite of high-end audio recording, editing and mixing tools. This means you can effectively edit screencasts where the audio quality matters as much as the visuals.
Lastly, DaVinci Resolve provides reliable and high-quality rendering options. Whether exporting your screencast to YouTube or preparing it for an HD display, it ensures your video’s quality is maintained.
Importantly, while DaVinci Resolve has earned a reputation as a professional-grade software, it doesn’t detract from its accessibility. The platform offers a feature-rich free version, making it quite reachable for individuals at all levels of experience.
Step 5: Getting Set to Share
As I gear up to share my work with the world, QuickTime H265 emerges as my chosen compression format, and I upscale my resolution to an absolutely captivating 3840×2160 HD for the export.
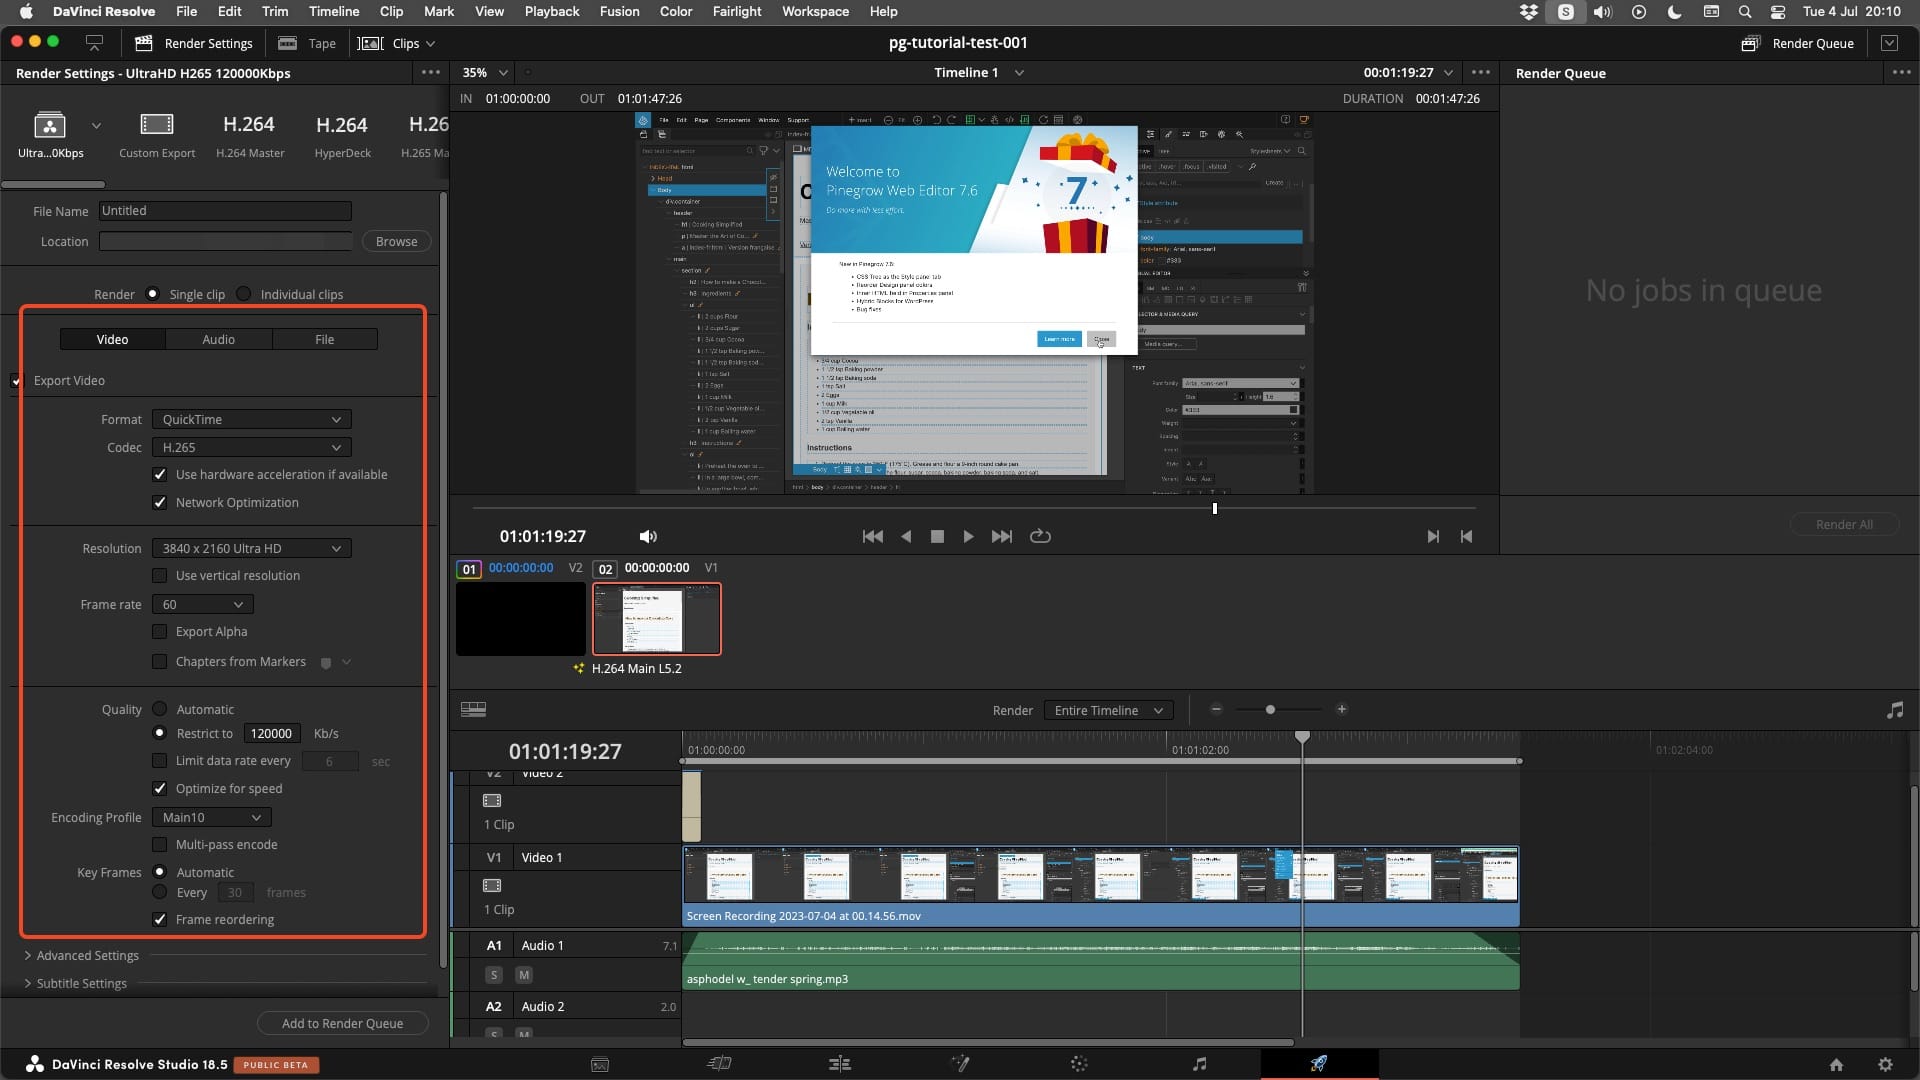
The Rationale Behind This …
Choosing QuickTime H265 and upscaling your video resolution to 3840×2160 HD for YouTube indeed formulates a smart strategy for a couple of reasons.
Firstly, QuickTime H265, also known as HEVC (High Efficiency Video Coding), is a video compression standard designed to substantially improve coding efficiency compared to its precedent, H.264/AVC. In straightforward terms, it means you can keep the same video quality and halve the file size, or double the video quality at the same file size. This is particularly beneficial when dealing with 4K content or HDR (High Dynamic Range) content due to the large file sizes associated with these types of videos.
In terms of upscaling resolution to 3840×2160 HD, it introduces a few key advantages. Higher resolution videos tend to be favored by YouTube’s ranking algorithms. YouTube acknowledges the increasing demand for high-resolution content by prioritizing 4K videos in its search and recommendation algorithm, thereby potentially attracting more views.
In addition, even your viewers who do not have 4K displays benefit from this high-resolution upload. When a high-resolution video is viewed on a lower-resolution display, it’s downscaled to match the display’s resolution, often resulting in a higher quality video due to a phenomenon known as ‘downsampling’. Essentially, the viewers enjoy a sharper and cleaner image compared to a video originally uploaded at lower resolution.
Lastly, given the rapid proliferation of 4K displays, this upscaling ensures your content is future-proofed. You’re delivering high-quality content not just for today’s viewers but also for the influx of viewers in the future who will increasingly watch content on 4K displays.
Hence, leveraging the power of QuickTime H265 and uploading in 3840×2160 HD becomes a practical solution for boosting visibility on YouTube while offering your viewers a superior viewing experience.
Future Upgrades
Plans are already in motion for adding a 4K screen to the Mac mini. This would provide a larger, sharper workspace, simplifying the editing process to further enhance my videos.
Inviting Collaboration
This journey, while personal, doesn’t have to be solitary.
I openly invite seasoned video editors and knowledgeable amateurs alike to share, suggest, and advise. Your insights could open doors to process enhancements and improved video quality. Let’s join hands to elevate our creative workflows and video content to new heights.